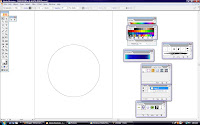
1) I started with a big, rounded shape by using 'Eclipse Tool'
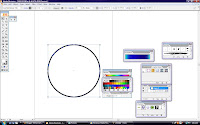
2) 'Stroke' thickness for the round shape was increased
3) The blue color is applied inside the round shape.
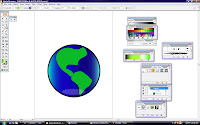
4) To make the earth's land, I used the eclipse tool to create two rounded shapes. Then, I used 'Warp Tool' to create some curvy line. Since the color of earth's land is green, so I filled it with green. After that, to make the earth look nicer, I applied the light reflection effect at the bottom of the earth. To make this effect, I created a round shape, applied the white color and make it 22% of it opacity.
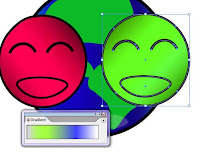
5) For the smiley faces part, again, I used 'Eclipse Tool' to create two faces. Also, I've applied the thickness of stroke on the outline of the faces. The gradient colors also have been applied for the two faces.
6) Then, I used 'Arc Tool' to create a happy-looking eyes for both faces. For the mouth part, rounded shape is needed. Then, I used 'Warp Tool' to create and move the points until the shape looks like a smiling.
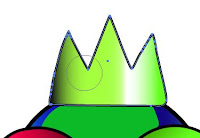
7) For the crown part, first, I created a square shape. Then, I used 'Warp Tool' to create a pointy surface at the top. Some of the points have been deleted with 'Delete Anchor Point Tool' to make the outline of the crown look smooth. To make the crown more shiny, I need to apply gradient color. It was easy to make the shiny effect since the gradient tool is easy to use.
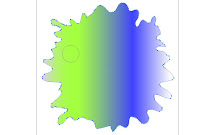
8) Finally, for a splash effect, again, I used 'Eclipse Tool' to create a rounded shape. ( I've used so many rounded shape for this symbol anyway). Then, by using 'Warp Tool', I just spread the points around until it looks like a splash. For the colors, gradient effect will make it look nice. The splash effect does not need a stroke I think or the front's symbol will not look visible.


No comments:
Post a Comment